 Crop Images Online
 Compress Photos
 Resize Image Online
 Add Text To Photo
 Convert Images to JPG
 Blur Part of an Image
 by
by Here is a small tutorial on how to use your logo in new watermark maker for Mac – Visual Watermark.
- Add your images into the program and click the Select Template button.
- Select a logo, or logo+text template.
- This template will use your logo as a watermark.
This template will use your logo and add a line of text below it.

There are 5 more templates that use your logo. You can discover them by an orange star which represents a sample logo.
The program will proceed to the next step.
- Click the watermark on the next screen to select it. A configuration screen will appear on the right.
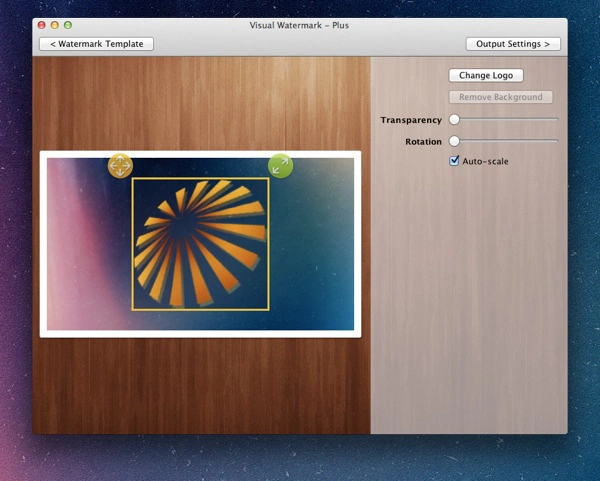
- Click the Change Logo button and select your logo file.
- Click the Remove Background button if you graphic file has one.
- Click the Output Settings button to select an output folder and apply your watermark.